Install Icinga2 and Icingaweb2 In One Go

We DevOps has a famous saying, “If it's not monitored, then it's not production”
Monitoring is a crucial part of any deployment. There are lots of tools out there that can be used for this purpose, the choice will depend on the requirement and also on the features of those respective tools.
Icinga2 is one of the most famous monitoring tools among them.
It can be used to monitor cloud deployments as well as on-premise deployments.
Icinga2 consists of two components
- Icinga2 server is the master server that gathers all the monitoring data and displays them. The master server consists of a daemon process (Icinga2) that runs in the background and a web app (Icingaweb2) that is used to display the results from the browser
- Nagios Remote Plugin Executor (NRPE) agents which run on the application servers and are used to publish monitoring data to the master server
In this article, I will provide a step by step guide to configure both master and agent on Red Hat 8
Configure Icinga2 Master
Below is the list of commands you would need to execute
Enable Powertools and EPEL repository
sudo dnf -y install https://dl.fedoraproject.org/pub/epel/epel-release-latest-8.noarch.rpmsudo dnf install -y 'dnf-command(config-manager)'
sudo dnf config-manager --set-enabled PowerTools
sudo dnf install -y epel-release
Update package manager index
sudo dnf clean all
sudo dnf makecache
Install Apache
sudo yum install httpd -yStart apache service and ensure it starts at server boot
sudo systemctl start httpd.service
sudo systemctl enable httpd.service
Install Maria DB
sudo yum install mariadb mariadb-server -yStart Maria DB service and ensure it starts at boot
sudo systemctl start mariadb.service
sudo systemctl enable mariadb.service
Secure database installation
sudo /usr/bin/mysql_secure_installationInstall the PHP modules
sudo yum install php php-gd php-intl php-ldap php-ZendFramework php-ZendFramework-Db-Adapter-Pdo-Mysql -ySet the timezone on php
Open file
sudo vi /etc/php.iniChange below line accordingly
date.timezone = America/Los_AngelesStart PHP FPM service
sudo systemctl enable --now php-fpm.serviceRestart Apache
sudo systemctl restart httpd.serviceInstall Icinga2 and Nagios plugins
sudo rpm --import http://packages.icinga.org/icinga.key sudo dnf install -y https://packages.icinga.com/epel/8/release/noarch/icinga-rpm-release/icinga-rpm-release-8-4.el8.icinga.noarch.rpmsudo dnf install icinga2 nagios-plugins-all -y
Start Icinga2 service and ensure it starts at boot
sudo systemctl start icinga2.service
sudo systemctl enable icinga2.service
Enable Icinga IDO (Icinga Data Output) modules for MySql
sudo yum install icinga2-ido-mysql -yConfigure the database
Login to the DB
mysql -u root -pCreate a database for Icinga2
CREATE DATABASE icinga;GRANT ALL PRIVILEGES ON icinga.* TO 'icinga'@'localhost' IDENTIFIED BY 'icinga';FLUSH PRIVILEGES;
EXIT;
Create a database for Icingaweb
CREATE DATABASE icingaweb2db;

GRANT ALL PRIVILEGES ON icingaweb2db.* to icingaweb2@localhost IDENTIFIED BY 'icinga123';

FLUSH PRIVILEGES;
EXIT;
Import Icinga2 IDO schema to the database we created
mysql -u root -p icinga < /usr/share/icinga2-ido-mysql/schema/mysql.sqlEnable IDO MySQL module
sudo vi /etc/icinga2/features-available/ido-mysql.confUncomment the lines on the file so it would look as below
user = "icinga"
password = "icinga"
host = "localhost"
database = "icinga"
Now enable ido-mysql feature
sudo icinga2 feature enable ido-mysql
sudo systemctl restart icinga2.service
Install Icingaweb2
Setup external command pipeline
sudo icinga2 feature enable command
sudo systemctl restart icinga2.service
add “apache” user to “icingacmd” group
sudo usermod -a -G icingacmd apacheInstall Icingaweb2 and Icingacli
sudo yum install icingaweb2 icingacli -yInstall Icingaweb2 selinux module
sudo yum install icingaweb2-selinux -yPoint apache webroot to icingaweb directory
sudo icingacli setup config webserver apache --document-root /usr/share/icingaweb2/publicsudo systemctl restart httpd.service
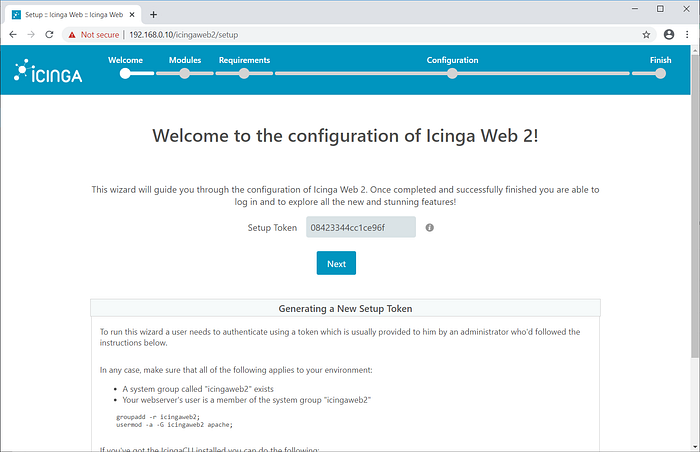
Generate setup token
sudo icingacli setup token createOpen your browser and navigate to Icinga2 setup page
http://<your-server-ip>/icingaweb2/setupOn the welcome page enter the setup token which was generated above
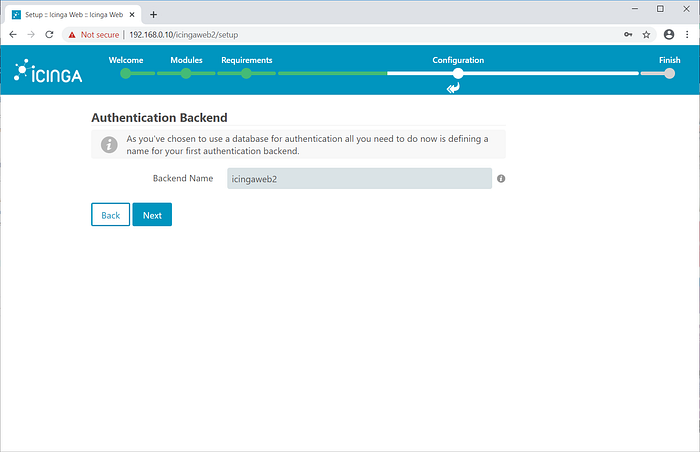
On the Authentication page select “Database” as the authentication method
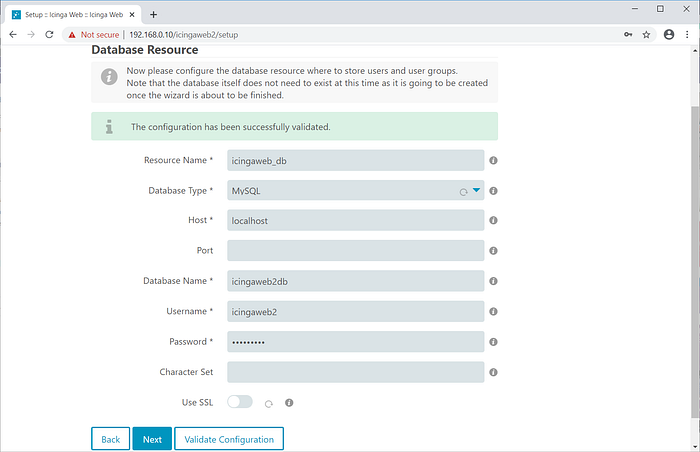
On database resource page enter the details as below
- Resource Name*: icingaweb_db
- Database Type*: MySQL
- Host*: localhost
- Database Name*: icingaweb2
- Username*: icingaweb2
- Password*: icinga123
On the next page use icingaweb2 as the default Authentication Backend
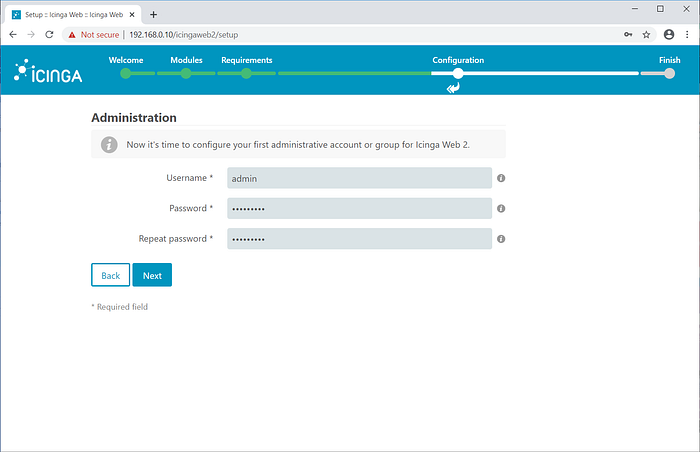
On the next page enter the username and password which you would use to login to the Icingaweb2 from the browser
You don't need to change anything on the next page
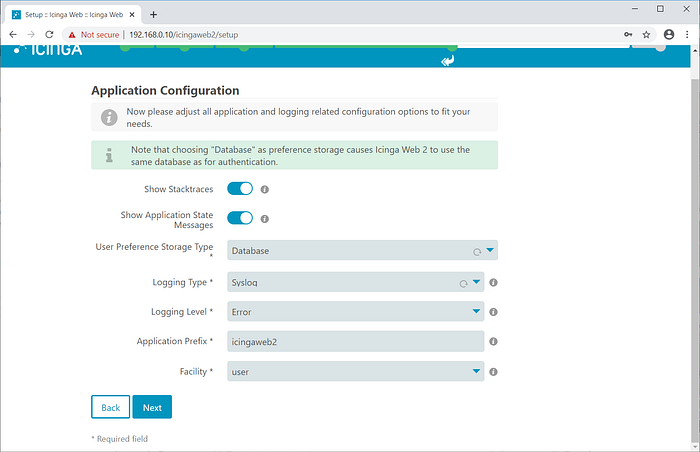
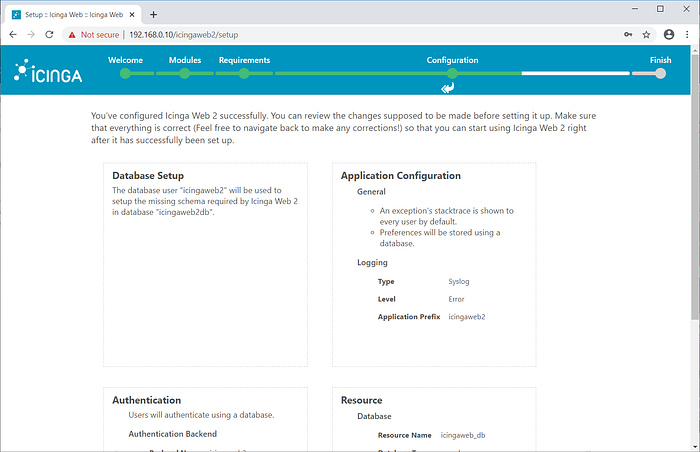
On the next page review your settings and click next

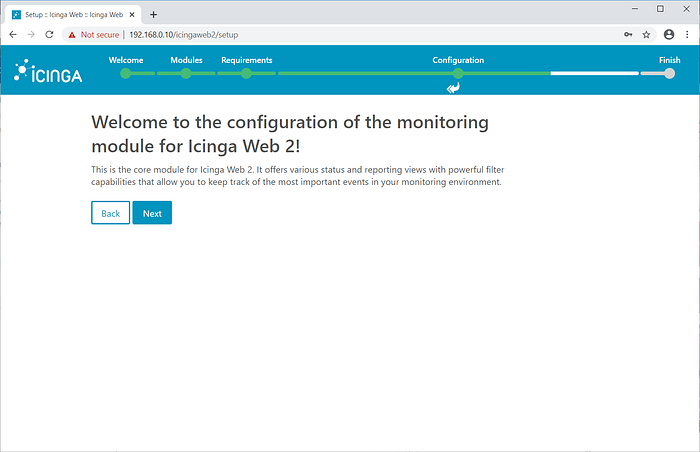
On the next page click next to start configuring the monitoring module for Icingaweb2
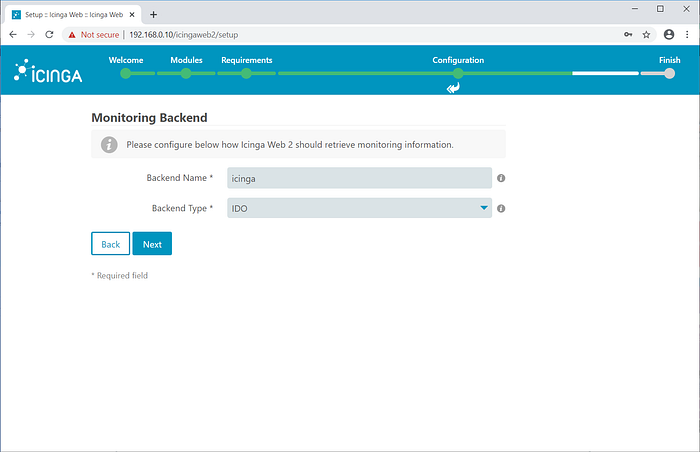
On the next page set backend name as icinga and backend type as IDO
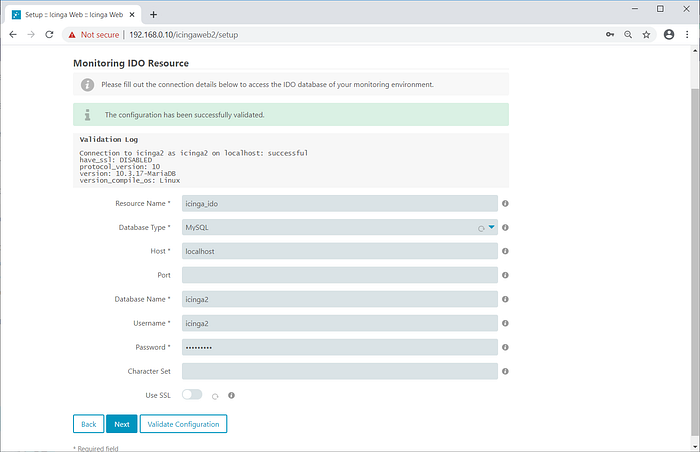
On the next page enter the details of Icinga database we created above.
Change only the below fields, leave the rest as it is.
Username: icinga
Password: icinga
Database Name: icinga
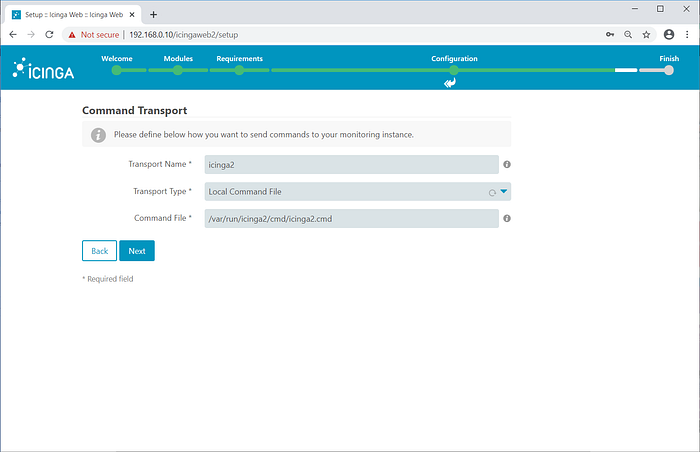
On the next page select the command transport.
Choose “Local Command File” as the transport type. Leave the rest of fields as it is and click next.
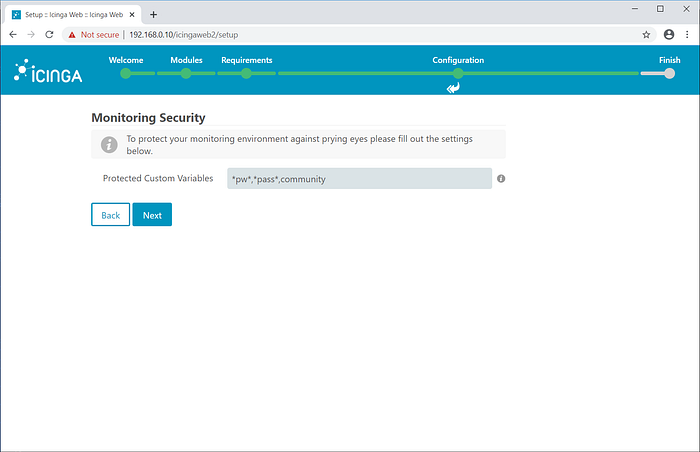
You don't need to do any changes to the next window. Click next.
On the next window review the configurations
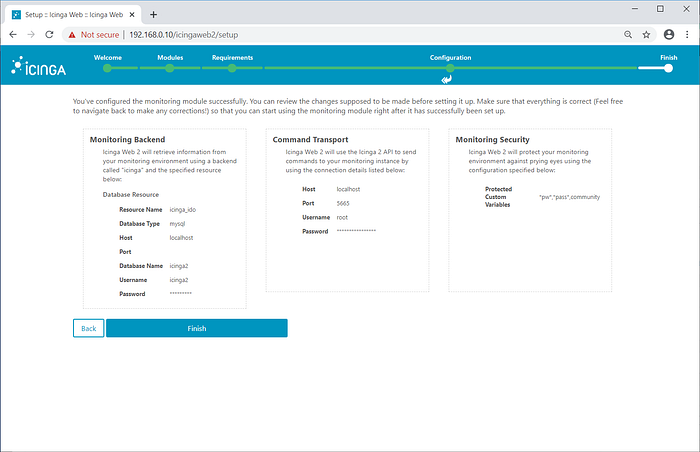
Click Finish
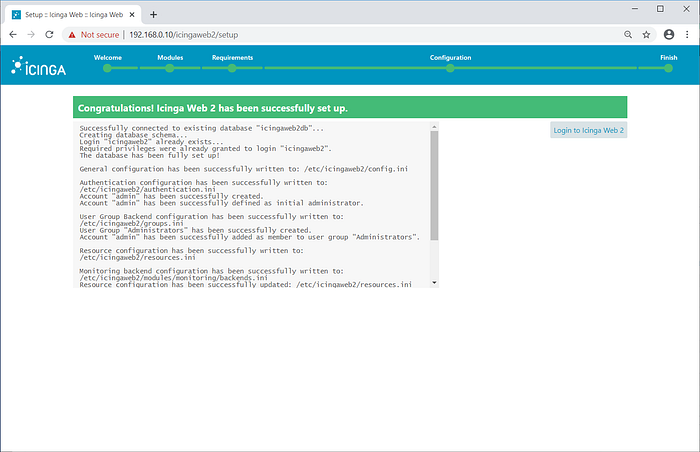
Icinga2 and Icingaweb2 setup is now complete
Access the Icinga UI

After authenticating you will see the Icinga dashboard